In the United States there's this mystique surrounding the 21st birthday. And by "mystique" I mean the ability to legally purchase your own alcohol and to legally imbibe in alcoholic beverages (responsibly, of course.)
With one of my friends slyly mentioned that her 21st birthday fell on a Friday, and that she would be having a party that night, I jumped at the opportunity. "May I make your cake as a present?" I asked her enthusiastically. She looked at me like I was crazy for even thinking the response might be a no. "Of course." Then a few weeks ago I sent her a text asking for some flavor suggestions. Her response? "Chocolate, raspberry, coffee, Bailey's, something with some of those?"

So with it being her 21st birthday and with that list of suggestions, what's more fitting for such an occasion than yet another cake with alcohol in it, not that this cake needs to be reserved for such an event. This one combines the
Guinness ChocolateCake I made last year for my St. Patrick's Day-born aunt's birthday with a take on the awesome stabilized whipped cream from Tish Boyle's
The Cake Book that I previously used in a
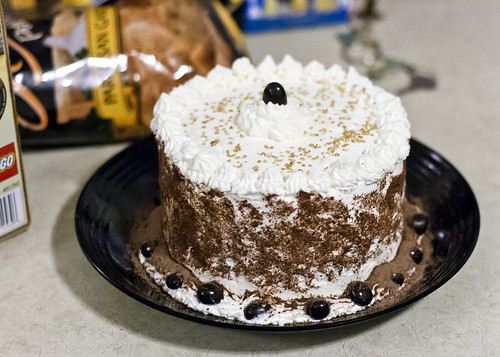
bourbon chocolate cake with a rich whipped chocolate ganache filling. So maybe she didn't mention beer, but swapping raspberry for beer sounded like a good idea, and decorating the cake with some dark-chocolate covered espresso beans threw in the coffee for good measure. And then there was the Bailey's making it's appearance in both the filling and the frosting.
I'd like to think the fact that people ate so little of the cake doesn't mean that it was a failure. From all the compliments, especially from the birthday girl, I'd say it was a success. But after tacos and numerous beers, a cake this rich was just the icing on the cake - a very thin, delicious layer of icing.
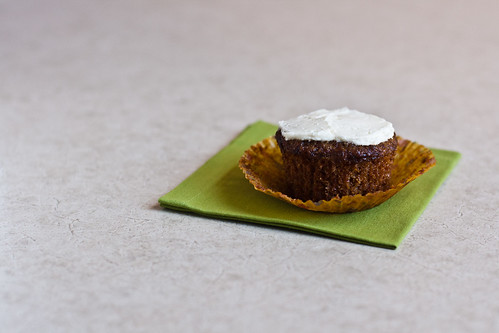
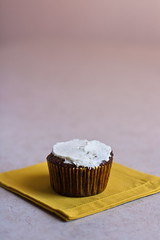
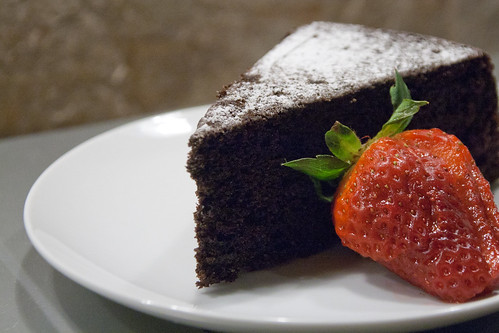
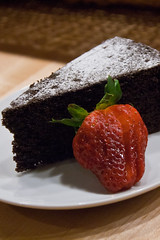
 Guinness and Bailey's Chocolate Layer Cake
Makes a 6" round cake
Serves 10-20
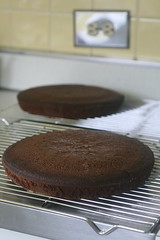
For the Guinness chocolate cake layers:
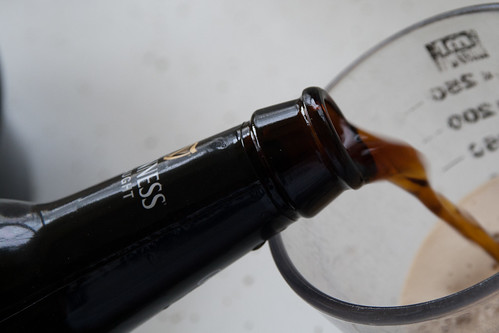
adapted from Vegetarian Times, March 20062/3 cup stout, room temperature (I don't know how to measure beer. It was too frothy at the top, so I ended up using 2/3 cup+ with the froth since I did a bad job pouring)
10 Tablespoons butter
1/2 cup cocoa powder
1 1/3 cups granulated sugar
1 1/3 cups all-purpose flour
1 teaspoon baking soda
1/2 teaspoon salt
1 large egg
1 large egg yolk
2/3 cup strained yogurt or sour cream
powdered sugar, for dusting
For the whipped chocolate ganache filling:
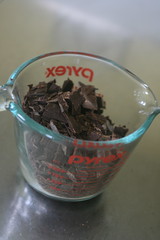
8 ounces bittersweet chocolate, chopped
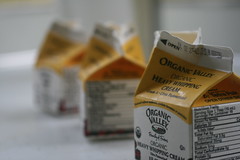
2/3 cup heavy cream
2 Tablespoons Bailey’s Irish cream
For the whipped cream frosting:
1/4 cup (28 g) confectioner's (powdered) sugar
1 1/4 teaspoons cornstarch
1 1/2 cups heavy cream
1 teaspoon vanilla extract
1-2 Tablespoons Bailey's Irish cream
Chocolate covered espresso beans (optional, for decoration)
Chocolate shavings (optional, for decoration)
To make the cake layers:
Preheat oven to 350ºF. Butter a deep 6" round pan and line with buttered parchment and dust with cocoa powder.
In a heavy saucepan over medium heat, bring stout and butter to a simmer. Whisk in cocoa until smooth. Cool slightly.
In a medium bowl, whisk together flour, sugar, baking soda, and salt.
Beat egg, egg yolk, and yogurt with an electric mixer in a large bowl until smooth and blended. Add beer-chocolate mixture and beat to combine.
Beat in flour mixture for 15-30 seconds on lowest speed. Fold batter using rubber spatula until completely combined. Don't fold too much. Pour into prepared pan.
Bake about 50-60 minutes, or until tester inserted into center of cake comes out clean. Cool about 10 minutes on rack. If cake needs loosening from sides of pan, run a small knife around edges. Turn out cake onto rack (if using parchment, peel off) and let cool completely.
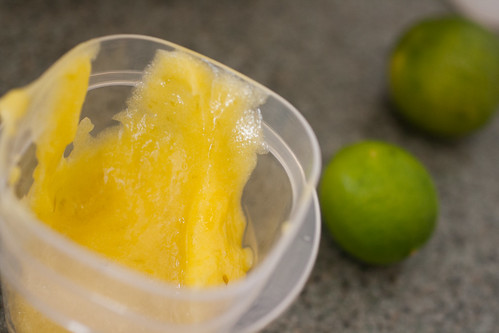
To make the chocolate ganache filling:
Place the chocolate in a small heatproof bowl. In a small saucepan, bring the cream to a gentle boil. Pour the cream over the chocolate and let sit for a minute. With a whisk, whisk the cream and chocolate until smooth, followed by the Bailey's. Let cool about 20 minutes or until cool, stirring occasionally. You can cool it off in an ice bath or the refrigerator to speed up the process. Once cooled, beat with a mixer for 30 seconds or until fluffy.
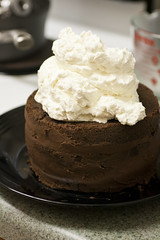
To make the whipped cream frosting:
In a small saucepan, whisk together the sugar, cornstarch, and 1/4 cup of the cream until smooth. Place pan over medium-high heat and bring to a boil, whisking constantly. Allow to boil for about 15 seconds. Remove the pan from the heat and let cool completely.
Once it cools, using the whisk attachment of an electric mixer, beat the remaining 1 1/4 cups of heavy cream with the vanilla extract and bourbon at medium-high speed until the cream begins to thicken and the whisk leaves a train in the cream. Add the cooled cream and cornstarch mixture and beat until stiff peaks.
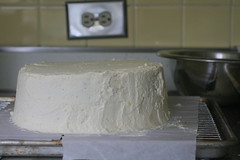
To assemble:
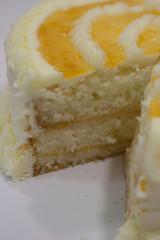
Slice cake into three even layers.
Place the bottom layer on a cake round or a cake plate and affix with a bit of chocolate ganache. Spread the top with half of the chocolate ganache and spread a thin layer on the side to seal in crumbs. Place second layer on top and use remaining chocolate ganache and place final cake layer on top. If needed, refrigerate cake for a while before proceeding to next step if the cake seems like the layers will slide off.
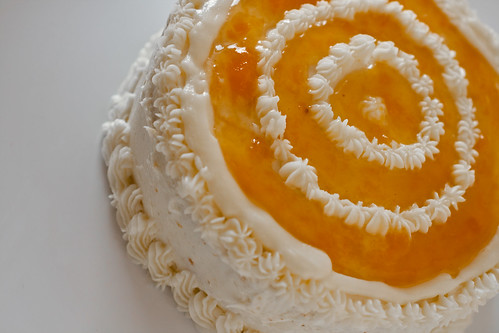
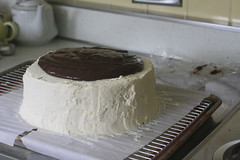
Spread 2/3 of the icing on the top and sides of the cake. If using chocolate shavings, pat them on the sides of the cake now.
Place remaining icing in a pastry bag with tip or a baggie with a corner snipped off to decorate the cake.