I didn't make a dessert for Thanksgiving dinner. But I have been baking, and yes, it is Thanksgiving today.
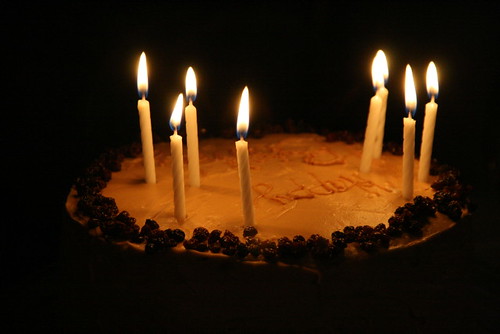
It also happens to be my great-aunt and great-uncle's birthday. And it is one of those years that ends with a zero. How can that not be commemorated with a cake?
Daunting may have been the word to describe making a birthday cake for Thanksgiving, especially from scratch. Actually, foolish, because I've never made one before. I guess layer cakes aren't hard, but they require some patience (something I lack when under time pressures, hence the reason I bake muffins to go in the freezer: nobody's impatiently waiting for breakfast). So even with Thanksgiving, and not having the day before off, I decided to bake this cake, and it was well worth it. All it meant was that nothing was prepped at all for Thanksgiving until today because I took over the kitchen from 4:30 until 9:30 Wednesday night.
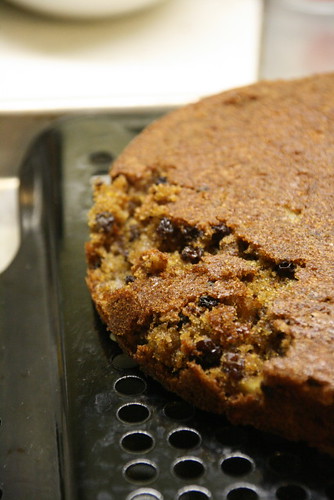
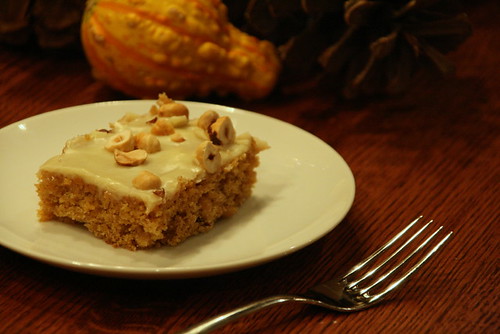
The determination and slow pace paid of. This is the first layer cake that I've made from scratch, beginning to end, on my own. It even tasted good enough to allow my aunt to forgive me for breaking the "birthday cakes are chocolate cakes" requirement. But mostly, I'm just glad that despite one of my layers falling apart, I was able to stay calm and nobody knows. Well, except you and my dad who I accused of eating it because a chunk was missing, but really it had just collapsed.
I also didn't have the cake picked out until yesterday morning, even though I did all the shopping for it over the weekend (except the brown sugar because that wasn't in the
first recipe I'd picked out.)
But when I went to print out the recipe, I stumbled upon
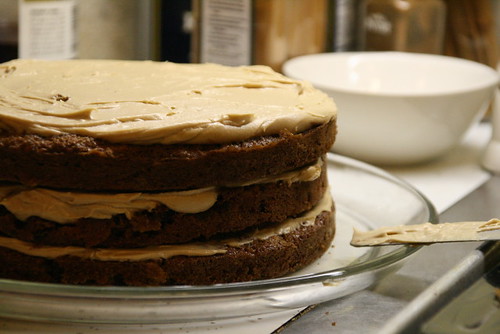
another one, and decided to go with it instead. It was similar, but looked like it was more foolproof and would taste better. But it required three layers, and I only have two pans. I ended up borrowing four pans from my neighbor and making a four layer cake that was slightly smaller in diameter.
And I now have a new favorite cake for this time of year. But I'm only allowed to make non-chocolate cakes for my aunt if her birthday is on Thanksgiving. And I have tendencies to try something new when it comes to making special things because they really need a crowd to feed.
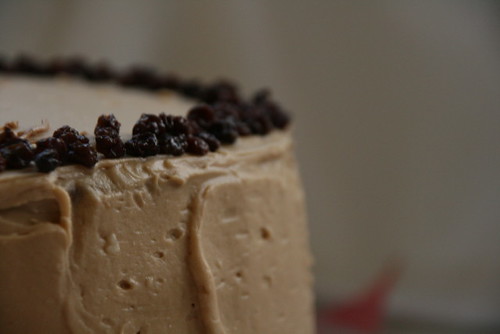
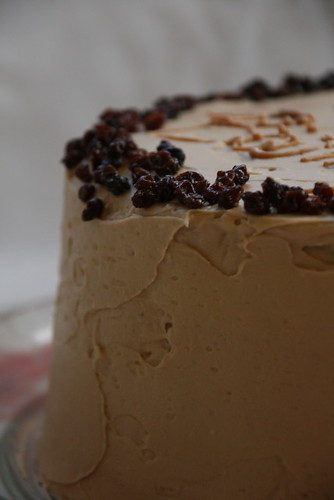
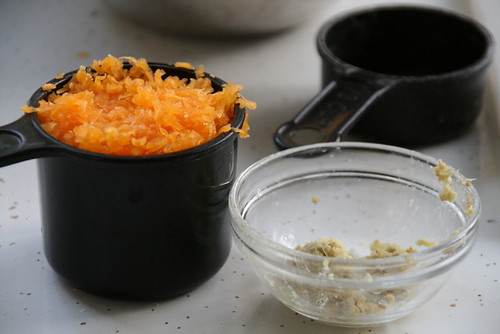
Some notes about the recipe: The original recipe on epicurious called for making applesauce in the cake, and I omitted that step, and used one large jonagold apple and one large granny smith. My frosting also didn't have a pronounced maple flavor because I am still looking for maple extract that isn't artificial imitation maple flavoring. I also noticed my walnuts had a funny taste when I was chopping them (I think if I'd rinsed them they would have been fine, because it wasn't evident in the cake or when dad put them in a fritatta earlier this week), so I just didn't press them into the sides of the cake. Instead I used some extra currants and decorated the border, but the top instead of the bottom of the side because I was tired and didn't realize that would have been the most attractive place until the morning. Oh, and the cake is similar to a carrot cake.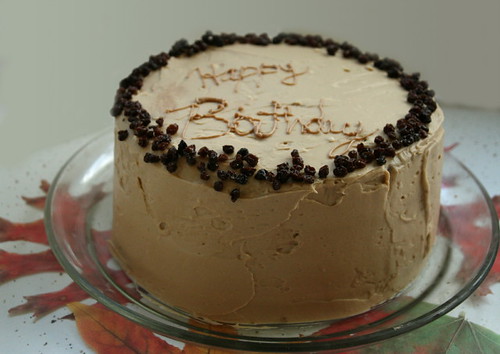
Apple Cake with Maple Cream Cheese Frostingadapted from
Bon Appetit October 1998Makes a 3 layer 9" cake or a 4 layer 8" cake, easily serves 12
Cake:
1 cup (140 g) plus 1 Tablespoon all-purpose flour
1 1/2 cups (200 g) whole-wheat pastry flour
2 teaspoons baking soda
1 1/2 teaspoons ground cinnamon
1/2 teaspoon salt
1/2 teaspoon ground nutmeg
1/4 teaspoon ground cloves
1 lb apples (such as Pippin, Granny Smith, or Jonagold, about two), cored and shredded
1/4 cup water
1 cup dried currants (about 5 ounces), plus about 1/4 cup more to decorate cake (optional)
1 cup walnuts(about 4 ounces), toasted, chopped
2 cups sugar (I used slightly less because our sugar is weird right now and looks powdery)
1 cup (2 sticks) unsalted butter, room temperature
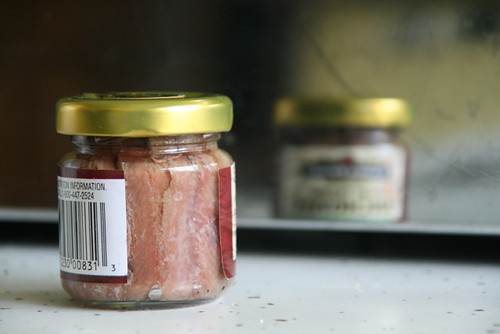
1 Tablespoon brandy
1 1/2 teaspoons vanilla extract
4 large eggs
Frosting:
1 cup (2 sticks) unsalted butter, room temperature
1 cup (packed) dark brown sugar
2 8-ounce packages cream cheese, room temperature
1/2 cup pure maple syrup
To make cake:
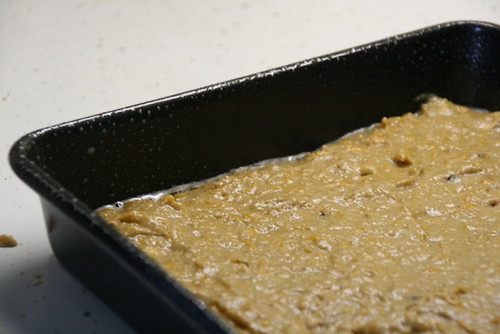
Preheat oven to 350F. Butter and flour four 8-inch diameter pans.
Sift 1 cup all-purpose flour and next 6 ingredients (through cloves) into a medium bowl. Toss currants with remaining 1 tablespoons flour.
Using electric mixer, beat sugar, butter, brandy, and vanilla in a large bowl until blended. Beat in eggs one at a time. Beat in half of flour mixture and 1/4 cup water. Beat in remaining flour and shredded apples with any liquid that drained from apples. Stir in currants and walnuts.
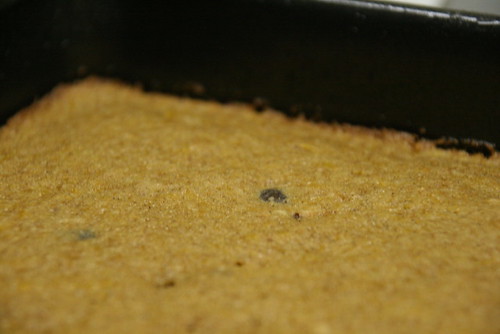
Divide batter among prepared pans. Bake cake until tester inserted into center comes out clean, about 20 minutes. Cut around sides to loosen and turn out onto racks to cool.
To make frosting:
Using electric mixer, beat together butter and sugar in a large bowl until blended. Beat in cream cheese; then maple syrup. Chill until beginning to firm, about 20 minutes.
To assemble cakes:
Place 1 cake layer on platter. Spread with 1/2 cup frosting. Top with second layer, spread with 1/2 cup frosting. Top with third layer; spread 1/2 cup frosting. Top with fourth layer and spread 1 cup frosting in thin layer over entire cake. Chill 15 minutes and then spread remaining frosting over cake. Press currants, if desired, around base of cake. Chill until frosting is set, at least 30 minutes.
Let stand at room temperature 1 hour before serving.
(Can be made 1 day ahead. Cover and keep chilled.)